




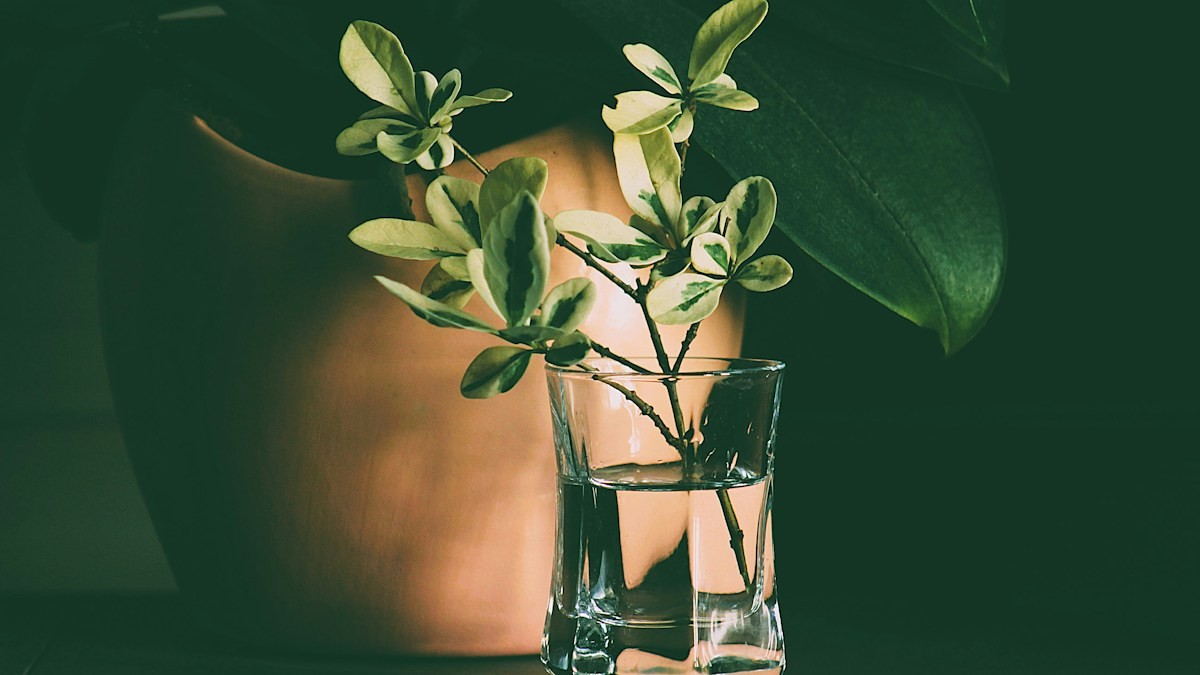
Water propagation is celebrated among houseplant enthusiasts as one of the most rewarding and visually enchanting practices in indoor gardening. Placing a leafy green cutting of *Monstera*, *Pothos*, *Philodendron*, or *Syngonium* inside a clear glass jar and watching crystalline white roots unfurl along the stem feels like witnessing everyday botanical magic. However, for many beginners, the dream of propagating lush houseplant cuttings turns into a frustrating tragedy: within days, the bottom of the stem turns squishy, black, and foul-smelling, rapidly dissolving in the water as fatal stem rot sets in.
Stem rot in propagation vessels is rarely caused by bad luck; it is the predictable biological consequence of bypassing fundamental botanical principles. When a plant stem is sliced with dull kitchen scissors and immediately plunged into stagnant, oxygen-depleted water, opportunistic waterborne bacterial pathogens (*Pythium* and *Erwinia*) effortlessly invade the crushed, open vascular wound.
Successful propagation is an exact horticultural science governed by tissue callusing, cellular oxygenation, and surgical slicing geometry. This comprehensive botanical laboratory guide explores water propagation root callusing. You will master sterile cutting techniques, understand the biochemistry of suberin wound calluses, learn why amber glass outclasses clear jars, and execute smooth potting soil transitions that achieve a 100% propagation success rate.
The Anatomy of the Node: Where Plant Stem Cells Reside
Why cutting between nodes results in inevitable rot and failure.
The Swollen Growth Node and Meristematic Cells
The single most common mistake among novice plant propagators is slicing off a single leaf petiole without including a stem node. In aroid and tropical climbing plants, individual leaf petioles do not contain active meristematic stem cells; placing a bare leaf in water will yield a petiole that stays green for months but can never produce new vegetative growth (a ‘zombie leaf’).
The magical site of new life is the ‘node’—the swollen, jointed ring along the main horizontal or vertical vine stem where leaves, petioles, and adventitious roots originate. The node houses totipotent undifferentiated meristem cells capable of differentiating into brand-new root and shoot systems.
Surgical 45-Degree Slicing Geometry
Never use dull household scissors or serrated kitchen knives to harvest cuttings. Dull blades crush the delicate vascular cambium, xylem, and phloem vessels, leaving mangled cell walls that die and decompose instantaneously.
Utilize a surgical scalpel, single-edge razor blade, or bypass pruner sterilized in 70% isopropyl alcohol. Make a clean, swift cut at a 45-degree angle approximately 1/4 to 1/2 inch below the swollen node. The 45-degree angle maximizes surface area for water absorption while preventing the cut stem end from resting flat against the bottom of the propagation jar.
The Callusing Cure: Suberin Synthesis and Rot Prevention
The mandatory 60-to-90-minute air-drying step that saves your cuttings.
The Biochemistry of Plant Wound Healing
When a living plant stem is severed, it bleeds cellular sap and exposes raw internal vascular tissue to the open environment. If submerged immediately into liquid water, waterborne opportunistic bacteria (*Pythium*, *Rhizoctonia*, and *Erwinia carotovora*) colonize the moist, unshielded wound within hours, releasing pectinolytic enzymes that digest the stem into mush.
In nature, plants protect themselves through ‘callusing’—the rapid biochemical synthesis of suberin and lignin across the exposed wound. Suberin is a complex waxy, hydrophobic biopolymer that creates an impermeable cork-like seal over damaged plant cells.
The 60-to-90-Minute Air-Drying Protocol
After making your clean diagonal slice, resist the urge to drop the cutting straight into water. Place the cutting on a clean, dry paper towel in a shaded, well-ventilated room and let it sit undisturbed for 60 to 90 minutes (for soft aroids) or 2 to 4 hours (for thick, succulent stems like Sansevieria or Hoya).
Inspect the cut tip: the wet, fleshy green wound will have dried into a pale, firm, leather-like callus membrane. This natural suberin shield renders the stem completely impervious to bacterial infiltration when introduced to water.

Water Vessel Aeration and The Amber Glass Advantage
Maintaining high dissolved oxygen levels to drive cellular root division.
The Depletion of Dissolved Oxygen (DO)
Root formation is an energy-intensive metabolic process requiring massive aerobic cellular respiration. To divide and elongate, nascent root cells consume dissolved oxygen from the water column.
In a small propagation jar, standing tap water completely depletes its dissolved oxygen within 72 hours, creating an anaerobic swamp that favors pathogenic rot bacteria. Refresh propagation water completely every 5 to 7 days with cool, room-temperature fresh tap water to replenish vital oxygen levels.
Why Amber Glass Outperforms Clear Glass
While clear glass bottles look charming on social media, they allow intense sunlight to penetrate into the water column. Sunlight combined with trace water nutrients accelerates the rapid proliferation of green slime algae, which competes with cutting roots for oxygen.
Furthermore, natural plant roots exhibit negative phototropism; roots prefer the dark, subterranean environment of soil. Utilizing amber or cobalt blue glass bottles blocks light rays, suppresses algae growth, and creates a dark, comforting root zone that stimulates root elongation up to 40% faster than clear glass.
Water Propagation Callusing & Rooting Time by Plant Species
| Plant Family / Species | Required Callusing Time | First Root Emergence | Soil Transplant Window | Rot Vulnerability |
|---|---|---|---|---|
| Golden / Marble Queen Pothos | 45 – 60 Minutes | 5 – 7 Days | 3 – 4 Weeks | Very Low (Nearly bulletproof) |
| Monstera deliciosa / adansonii | 60 – 90 Minutes | 10 – 14 Days | 4 – 6 Weeks | Low to Moderate |
| Heartleaf / Brasil Philodendron | 45 – 60 Minutes | 7 – 10 Days | 3 – 4 Weeks | Low |
| Syngonium (Arrowhead Vine) | 30 – 45 Minutes | 5 – 8 Days | 3 – 4 Weeks | Very Low |
| Sansevieria (Snake Plant) | 24 – 48 Hours (Callus dry) | 4 – 8 Weeks | 8 – 12 Weeks | High (If callusing skipped) |
| Fiddle Leaf Fig (Ficus lyrata) | 2 – 3 Hours | 3 – 6 Weeks | 6 – 8 Weeks | Moderate |
Recommended Further Reading & Authoritative References
To deepen your practical mastery of these concepts, explore our comprehensive analyses on the complete water propagation guide for rooting Monsteras and Pothos and blending the perfect well-draining chunky aroid soil mix. For official technical standards, peer-reviewed benchmarks, and industry guidelines, consult the University of New Hampshire Extension: Propagating Houseplants Fact Sheet.
Frequently Asked Questions
Can I use commercial rooting hormone powder in water propagation?
It is not recommended for water! Rooting hormone powders are talc-based and designed for moist soil or perlite; when mixed into standing water, the talc forms a cloudy sludge that suffocates stem pores and encourages bacterial blooms. Use pure water or a drop of liquid seaweed extract.
What should I do if the bottom of my cutting turns black and slimy?
Take immediate action! Remove the cutting, use a sterile blade to slice away the rotting black tissue up into healthy white/green stem, rinse thoroughly, let the new cut air-dry for 2 hours to callus, and place in a fresh, sterilized jar with clean water.
Should I keep propagation jars on a hot windowsill in direct sun?
Never in direct sunlight! Direct sun turns clear jars into miniature greenhouse ovens, heating the water above 85°F (29°C), which literally boils root cells and speeds bacterial decay. Keep cuttings in bright, filtered, indirect light.
Does adding a pothos cutting help other plants root faster?
Yes! This is scientifically proven. Pothos vines produce extraordinarily high concentrations of natural indole-3-acetic acid (auxin rooting hormone) that leaches into the water, accelerating root emergence in stubborn cuttings placed in the same jar!