



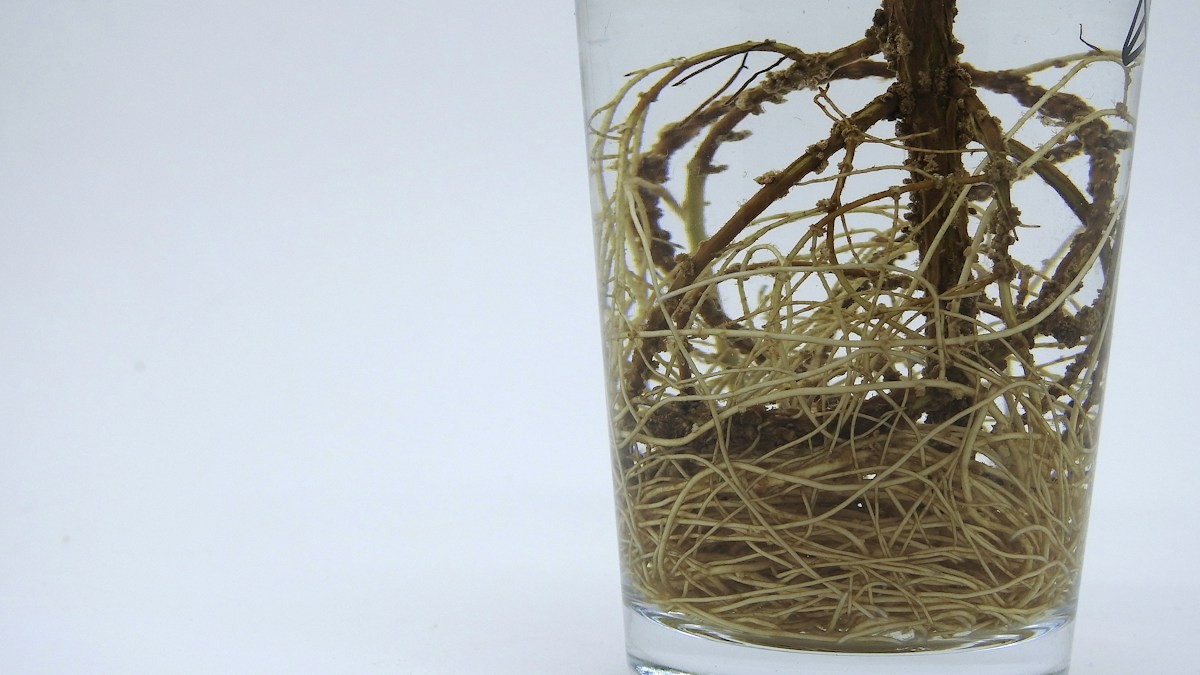
Every houseplant parent eventually faces the moment of truth: you try to water your thriving Monstera or Philodendron, and the water surges straight through the pot and out the drainage holes in three seconds without soaking in. You lift the plastic nursery pot, and thick, coiled white roots are bulging through the drainage slits, deforming the plastic container into an oval. Your plant has officially become rootbound (pot-bound).
Rootbound conditions occur when a plant’s root system outgrows its container, consuming all available soil until roots have nowhere to expand except winding around themselves in tight, suffocating spirals. If left unaddressed, the dense root mass strangles itself, water absorption halts, nutrient deficiencies emerge, and lower leaves rapidly yellow and drop. Yet, repotting incorrectly—choosing an oversized pot or tearing delicate root hairs aggressively—can trigger severe transplant shock and sudden root rot.
In this comprehensive surgical guide, we walk you through the exact science and step-by-step technique of repotting rootbound tropicals. You will learn how to diagnose rootbound severity, safely tease and prune tangled root balls, select proper pot sizing following the 2-inch rule, and replenish fresh, nutrient-rich aroid substrate that fuels explosive new vegetative growth.
Diagnostic Signs: When Repotting is Non-Negotiable
Plants exhibit distinct visual cues above and below the soil line when their roots are choked.
Above-the-Soil Distress Signals
The most reliable above-ground symptom of a rootbound plant is hydraulic failure: the plant wilts just 48 hours after a thorough watering because there is virtually no soil left to retain moisture. Additionally, new foliage emerges significantly smaller than older leaves, or the plant stops growing altogether during peak spring season.
Lower leaves begin yellowing and dropping as the plant cannibalizes older foliage to sustain new growth.
The Nursery Pot Inspection
Never guess; inspect the root system directly. Gently squeeze the sides of the plastic nursery pot to loosen soil cohesion, support the main stem base with your fingers, invert the pot, and slide the root ball out.
If you see a solid, tangled white ‘root brick’ with zero visible soil, the plant is severely pot-bound and requires immediate intervention.
The 2-Inch Golden Rule for Pot Upsizing
The biggest mistake in repotting is moving a plant into a massive pot, which creates a soggy death trap.
The Hazard of ‘Over-Potting’
Beginners often think: ‘If I put my 6-inch plant into a 12-inch pot, it will grow twice as fast.’ In reality, over-potting is a death sentence. The massive reservoir of unoccupied soil surrounding the small root ball holds huge quantities of moisture that roots cannot absorb.
This soil stays soaking wet for weeks, creating an anaerobic breeding ground for root rot fungi that destroys the plant from below.
The 2-Inch Upsizing Standard
Always upsize your pot diameter by exactly 1 to 2 inches (e.g., from a 6-inch pot to an 8-inch pot, or an 8-inch pot to a 10-inch pot).
This measured volume increase provides roughly 1 inch of fresh, nutrient-rich soil buffer around the entire perimeter of the root ball—the perfect volume for roots to explore and colonize without waterlogging risk.
Surgical Root Disentanglement and Pruning
Circling roots will continue to strangle themselves unless mechanically corrected during repotting.
Teasing and Scoring the Root Ball
Never drop a tight root-brick directly into a new pot without loosening it; circling roots will simply continue to coil tightly inside the fresh soil without ever growing outward. Use clean fingers or a wooden chopstick to tease and uncoil the bottom third of the root mass.
For severely bound specimens, take a sterile razor blade and make four vertical 1/2-inch deep ‘scoring’ slices down the sides of the root ball and an X-cut across the bottom. This severing stimulates dormant lateral root meristems to branch outward into fresh soil.
Sterile Root Pruning for Mature Specimens
If your plant is already in a massive 12 or 14-inch floor planter and you do not want it to grow any larger, perform root pruning. Using sterile shears, trim away up to 20% of the outer and lower root mass.
Wash your shears in alcohol, replenish fresh chunky aroid mix in the original pot, and replant. The plant will produce healthy new feeder roots without requiring a larger container.
Rootbound Diagnostic Severity and Intervention Protocol
| Rootbound Severity Tier | Visual Root Condition | Soil-to-Root Ratio | Required Repotting Action | Transplant Shock Risk |
|---|---|---|---|---|
| Stage 1: Mildly Rootbound | Roots touching pot edges; soil still visible | 60% Soil / 40% Roots | Gently loosen outer roots; upsize pot by 1-2 inches | Very Low (Immediate growth) |
| Stage 2: Moderately Bound | Roots circling bottom perimeter in rings | 30% Soil / 70% Roots | Tease bottom circle; score roots; upsize pot by 2 inches | Low (1 week acclimation) |
| Stage 3: Severely Choked | Solid solid root brick; plastic pot deformed | 10% Soil / 90% Roots | Perform root slicing; prune 20% mass; replenish fresh mix | Moderate (Requires shade for 10 days) |
| Stage 4: Rootbound Stunting | Yellowing lower leaves, water drains instantly | < 5% Soil / 95% Roots | Aggressive root pruning or root wash division | High (Keep in high humidity) |
| Epiphytic Tolerance | Aerial roots climbing; aerial bounds | Adapted to tight spaces | Leave alone unless top-heavy or stunted (e.g. Hoyas) | None (Thrives when snug) |
Recommended Further Reading & Authoritative References
To deepen your understanding of these systems, review our companion analysis on Aroid Soil Mix Guide and Houseplant Care 101. For official technical specifications and industry standards, consult the Royal Horticultural Society Container Gardening & Repotting Guidelines.
Seasonal Acclimation & Preventive Plant Healthcare
Ensuring lasting vitality when cultivating Repot Rootbound Tropicals requires understanding seasonal metabolic shifts and adjusting ambient care routines accordingly. Indoor houseplants modulate their transpiration rates and nutrient uptake in direct response to changing daylight hours and indoor HVAC cycles.
During transitional seasons, carefully calibrate your watering frequency and inspect soil root zones for adequate drainage. Wipe foliage regularly with a damp microfiber cloth to remove domestic dust layers that obstruct photosynthetic stomata and reduce light absorption efficiency.
Establish a bi-weekly preventive inspection habit, examining the undersides of leaves and leaf axils for early signs of opportunistic pests like spider mites or scale. By identifying subtle foliage cues early and providing consistent, gentle care, your indoor greenery will maintain lush, robust growth year-round.
Frequently Asked Questions
What is the best time of year to repot tropical houseplants?
Early spring through early summer (March through June) is the ideal window. As natural daylight hours increase, plants enter an active hormonal growth surge that allows them to heal root incisions and colonize fresh soil rapidly.
Should I fertilize my plant immediately after repotting?
NO! Never fertilize a freshly repotted plant for at least 4 to 6 weeks. Root pruning and repotting cause microscopic tears in root tissue. Applying chemical fertilizer salts to wounded roots causes severe chemical burning. Let roots establish first.
Can I repot a houseplant while it is actively flowering?
It is best to wait until flowering finishes. Repotting redirects metabolic energy into root establishment, which often causes plants to abort delicate flower buds and blossoms prematurely.
What should I do if my plant wilts severely right after repotting?
Severe wilting indicates transplant shock caused by damaged root hairs. Increase ambient relative humidity immediately: place the plant near a cool-mist humidifier or slip a large clear plastic bag over the plant for 5 days to create a mini-greenhouse that halts leaf moisture loss.